

I first became aware of this nifty little nail art tool when I saw this pic while browsing the world wide web for Nail Art Inspiration:

And since then a WHOLE WORLD of possibilities opened up 😉
Striping tape comes in a wide variety of colours, and can be used in a couple of different ways:
Method 1 : By simply applying them to your nail and using them as part of your Nail Art Design.
For example:
Here I used a silver striping tape on my white nail polish, and finished off the look with some silver glitter polish:

Or here I did a more intricate design, and completed the look by adding some black striping tape to ensure neat and straight lines for my X pattern:
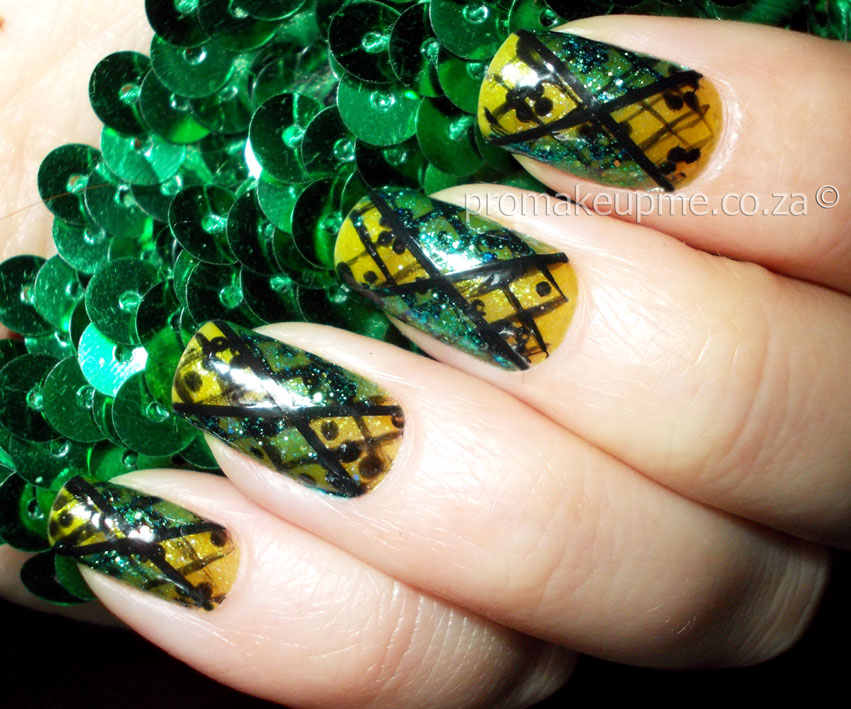
Method 2 : And then the more exiting way to use striping tape is to paint your base colour/colours, applying our striping tape, and then painting another colour/colours over it, and then removing the striping tape to reveal neat lines of the base colour polish/es underneath.
Try something simple like this:

Or something more intricate, for the more practiced hand:

And here is a more intricate design that I did a little while ago:

As well as this little beauty here:

So many possibilities!!!! 😀
And then finally some tips:
- Make sure that your base colour is completely dry before applying your striping tape.
- (for the second type of use mentioned above) Remove the striping tape as soon as you have painted your colour over it. If you wait too long, and the top colour becomes too dry, it will become difficult to remove the tape neatly, and your lines will have uneven/rough edges.
- Here is a clever little way to store all your striping tapes, making them easier to work with as well:


Looks so cute! I want that tape dispenser so bad haha. Makes it so convenient for people like me who can’t draw neat straight lines when I attempt nail art!
Ha-ha Jen, you are not alone! 😉 And “making” this dispenser is super easy! Simply buy a normal one (for scotch tape), take out the roll of scotch tap, and pop your Striping Tape collection into the dispenser instead. 🙂
Oh that is such a smart idea! 😀 So convenient to have it all in one place!
Exactly!! 😉
This creates incredible effects , I have to try these 🙂 thank you for this post x
Only a pleasure Claire, and thank you! 🙂 Yes the options are endless! 😉
Great post! I’ve been trying to do a bit of nail art lately. Keep meaning to get some stripping tape. Gonna try some of these out when I do! X
Thanks Clare!! Let me know how it went? (Or goes.. if you have’t used them yet 😉 ha-ha)
Striping tape is on my list, where do you get yours?
Hi Llewsoba, not sure where you are located? But I am in Cape Town, South Africa, and got mine locally from Planet Nails. But you can definitely also check out the online store: Born Pretty, they ship worldwide 😉
Love the amazing designs you’ve created with this tool. I will definitely have to try technique.
Ah thanks so much! 🙂 It just lends itself to so many different options!! Which makes being creative so easy 😉